

✅ Setting Up Your Lab: A Core Equipment Checklist
New semester means new experiments and for a lot of programs a fresh look at what's actually in the lab. Whether you're outfitting a full classroom or a single homeschool bench, a handful of core instruments show up in almost every experiment: something to weigh with, something to mix with, something to test pH with, and the glassware to hold it all.
This guide walks through what each of these tools actually does, how to choose between the common variations, and how they typically work together in a real experiment — not just as a shopping list, but as a system.
The Core Essentials
⚖️ Precision or analytical balance (depending on required decimal accuracy)
🌀Magnetic stirrer or overhead stirrer (depending on viscosity/volume needs)
🧪pH meter
⚗️Basic glassware set (beakers, flasks, graduated cylinders)
The Core Essentials
1. Balances: Precision vs. Analytical

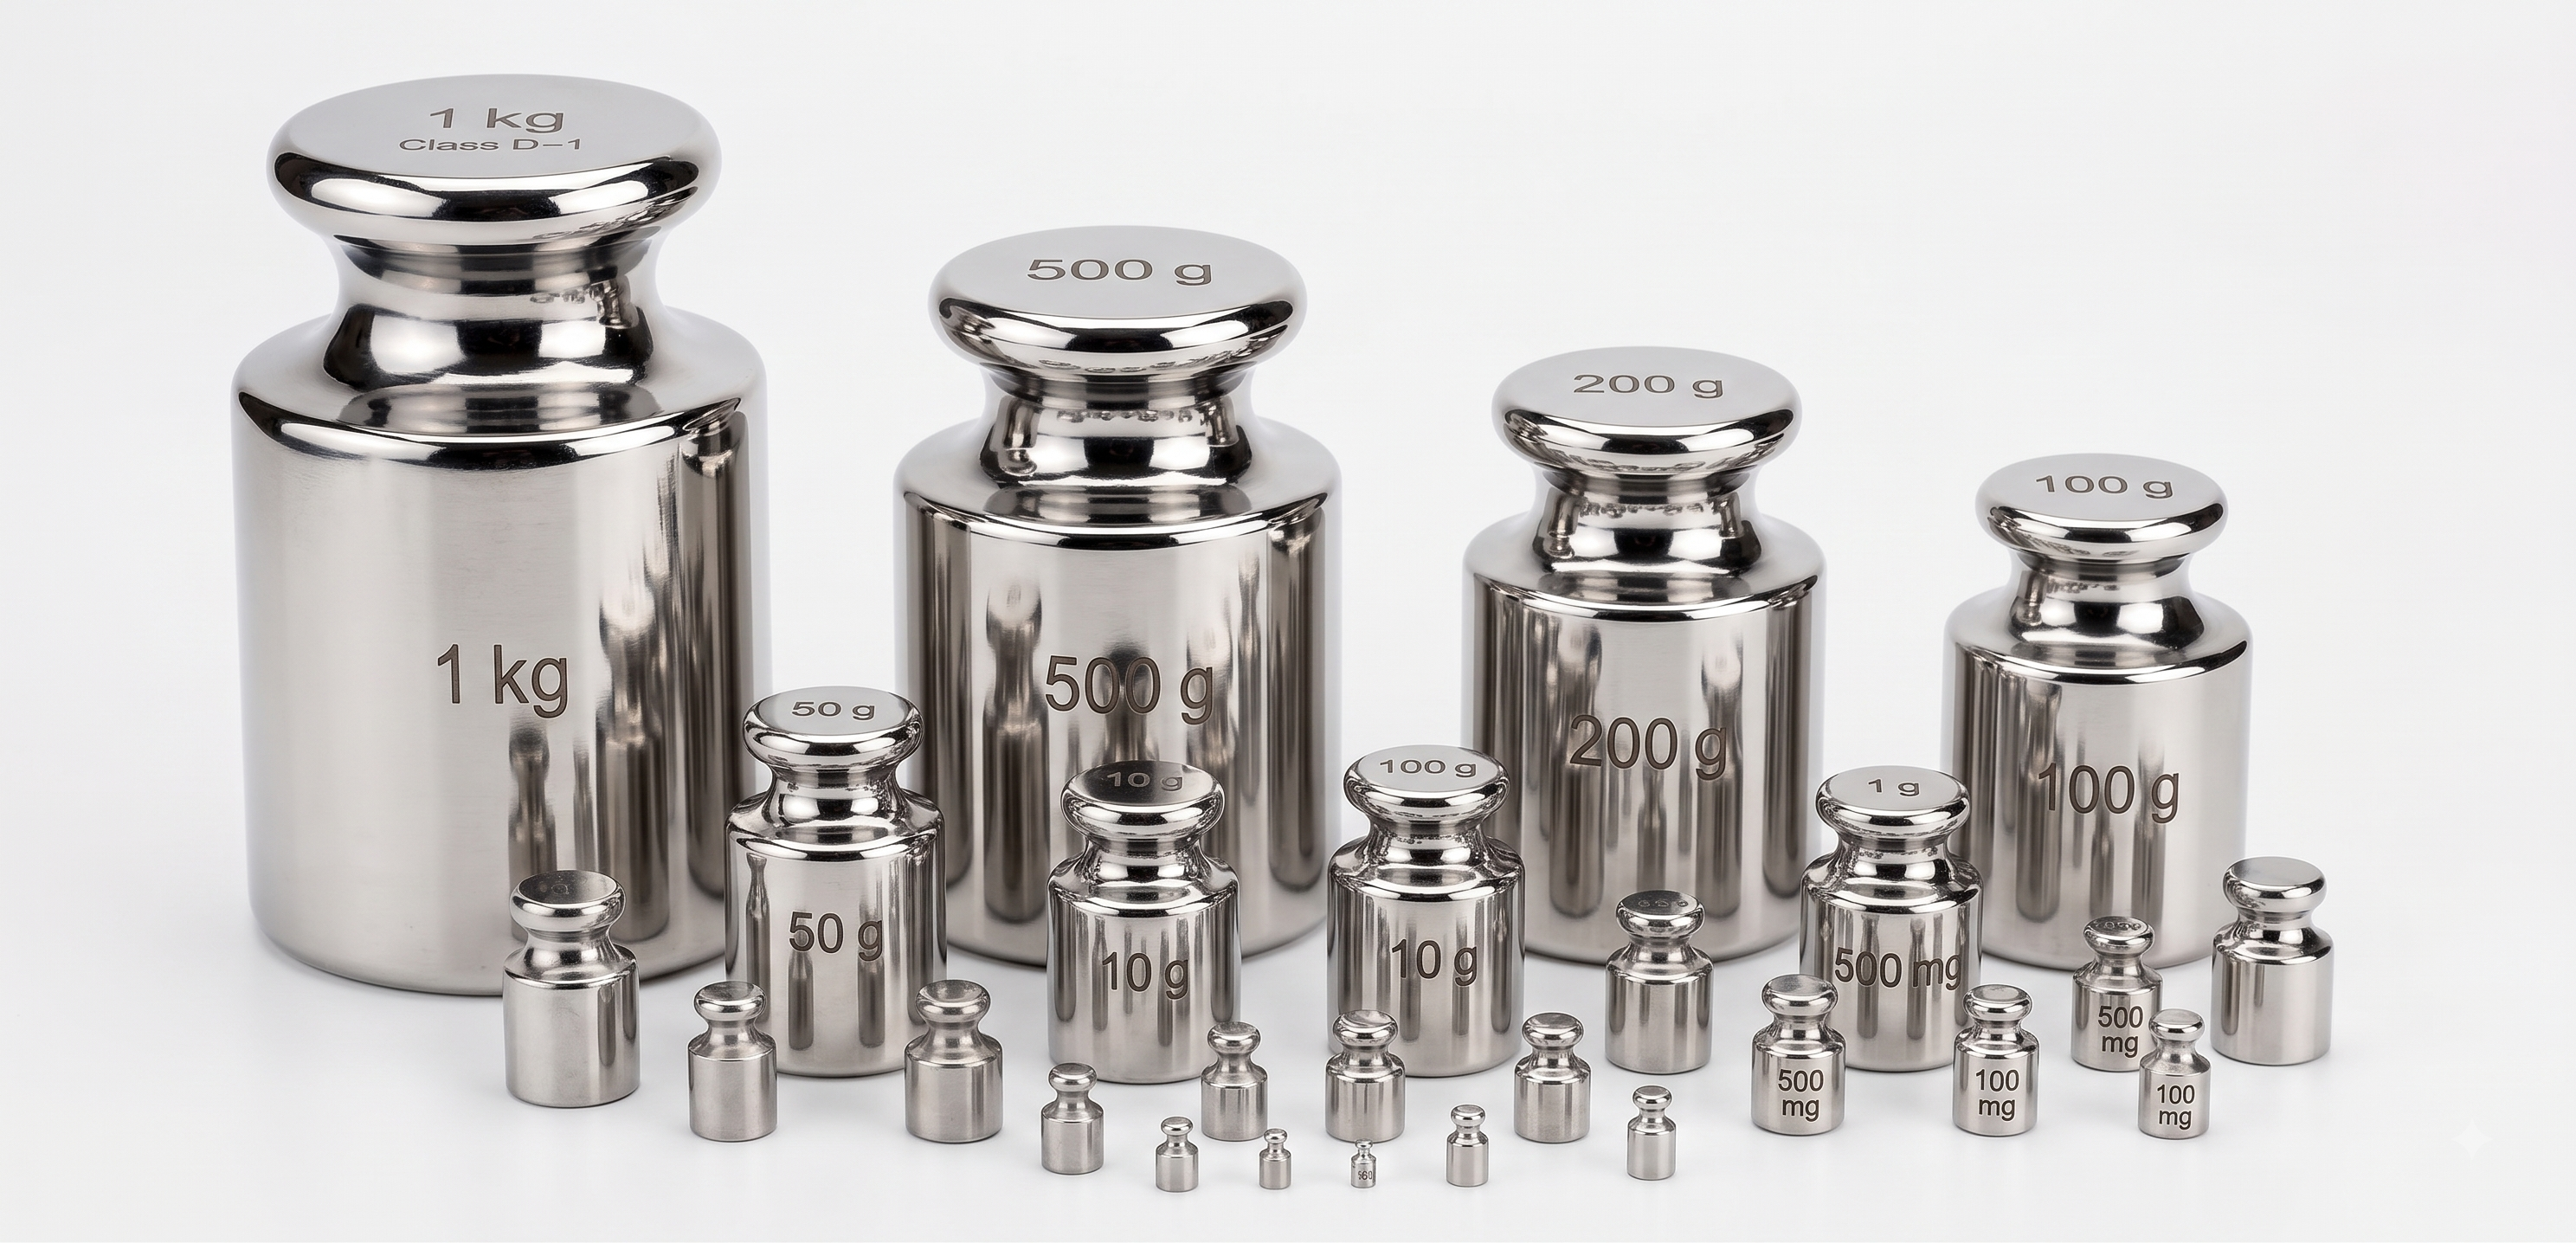
A balance is where most experiments start — you can't calculate a concentration, yield, or ratio without an accurate starting mass.
Precision balances typically measure to 0.01g or 0.001g. They're built for everyday measuring: weighing out reagents, checking sample consistency, or general lab prep where you need accuracy but not extreme decimal precision.
Analytical balances measure down to 0.0001g (four decimal places) and are enclosed in a draft shield to block air currents from affecting the reading. These are used when even tiny mass differences matter — trace chemistry, small-sample research, or any calculation where a milligram of error changes the result.
Choosing between them usually comes down to one question: does your experiment or curriculum require four-decimal accuracy, or is two-decimal accuracy enough? Most teaching labs and general coursework run fine on a precision balance. Research-level work, especially anything involving small sample sizes or trace substances, usually calls for analytical.
A useful feature to know about on modern balances: many can log data automatically to a connected computer, so a weight reading gets recorded the moment it stabilizes — no manual transcription, less room for error.
2. Stirrers: Magnetic vs. Overhead

Once you've got a measured sample, the next step in a lot of experiments is mixing or dissolving it — and this is where the two stirrer types diverge.
Magnetic stirrers use a rotating magnetic field to spin a small stir bar inside the container. They're ideal for low-to-medium viscosity liquids and smaller volumes — think dissolving a solid into a solution, maintaining a homogenous mix during a titration, or keeping a reaction gently agitated over time. Many also include a hot plate function for simultaneous heating and stirring.
Overhead stirrers use a motor-driven shaft and blade that physically rotates in the liquid from above. They're built for higher-viscosity substances, larger volumes, or mixtures where a magnetic stir bar wouldn't generate enough force — thicker solutions, suspensions with solid particles, or bigger batch sizes.
Choosing between them is mostly about viscosity and volume. If you're working with a thin liquid in a beaker or flask, a magnetic stirrer will handle it. If you're mixing something thick, dense, or in bulk, an overhead stirrer is the better fit.
3. pH Meters

A pH meter measures how acidic or basic a solution is, using a probe that reads the hydrogen ion concentration and converts it to a pH value. This shows up constantly across chemistry, biology, environmental science, and food science experiments — anything involving reactions, fermentation, soil or water testing, or solution prep needs a pH check at some point.
Meters vary mainly by probe type — general-purpose probes for most liquid solutions, and specialized probes (like food or fruit probes) designed for semi-solid or low-liquid samples where a standard probe wouldn't get an accurate reading.
4. Glassware: Vacuum Filtration Systems & Separatory Funnels

Beyond the basic containers every lab has on hand, two pieces of glassware handle a step that comes up constantly once you're past simple mixing: separating one substance from another.
Vacuum filtration systems pull a liquid through a filter using vacuum pressure, separating out any solid particles quickly and cleanly. This is the step that follows a lot of mixing or reaction experiments — once a solid has formed or precipitated out of a solution, a vacuum filtration setup separates it from the liquid far faster than gravity filtration alone, and gives a cleaner result for anything you plan to weigh or analyze afterward.
Separatory funnels separate two liquids that don't mix — most commonly an aqueous (water-based) layer from an organic solvent layer. The funnel holds both liquids, lets them settle into distinct layers by density, and then allows you to drain off the bottom layer through the stopcock while keeping the top layer separate. This shows up in extractions, purifications, and any experiment where a compound needs to be isolated from a mixed-liquid solution.
Alongside these, a set of general-purpose glassware — beakers for mixing and holding liquids, flasks for swirling or precise volume work, and graduated cylinders for measuring liquid volume — rounds out the basics every lab still needs on the shelf.
How It Works Together: A Sample Experiment Workflow
It helps to see how these tools connect in practice. Here's a typical flow for testing a hypothesis — say, how a specific compound affects the pH of a solution as it's mixed:

- Weigh your samples on the balance to get an accurate starting mass of your compound. If the balance logs data automatically, that measurement is recorded to your computer the moment it's captured — no separate step needed.
- Prepare your solution using the graduated cylinder to measure out your liquid volume, and a beaker or flask to hold it.
- Mix your compound into the solution using a magnetic stirrer if it's a thin liquid in a smaller volume, or an overhead stirrer if you're working with something thicker or in bulk.
- Test the pH as the mixture combines, using the pH meter to track how the reading changes over time or after specific intervals.
- Repeat and compare across trials, adjusting your starting mass or mixing time to see how the results shift — using the same balance, stirrer, and pH meter each time to keep the comparison consistent.
This same basic sequence — weigh, prepare, mix, test — shows up across a huge range of experiment types, from titrations to solubility testing to reaction rate studies.
Homeschool & Small Science Programs
For homeschool labs and smaller programs, the priorities shift slightly: compact equipment, straightforward operation, and tools that can flex across multiple subjects rather than one narrow use case.
- A compact precision balance — accurate enough for most coursework-level chemistry and biology, without the complexity (or cost) of an analytical model
- A smaller magnetic stirrer — versatile for the kinds of mixing and dissolving experiments most homeschool chemistry and biology curricula call for
- A basic pH meter (with a food/fruit probe if experiments extend into food science, like testing fruit acidity or fermentation) — one meter that covers both standard liquid testing and softer, semi-solid samples
- A basic glassware starter kit — a small set of beakers, flasks, and graduated cylinders is usually enough to cover a full year of standard experiments
The goal for this setup isn't to replicate a full research lab — it's to have equipment reliable and simple enough that a student can run a real experiment, get an accurate result, and understand why each tool matters in the process.
Getting the core setup right at the start of the semester means less scrambling later when a new unit or experiment calls for something you don't have on hand. Once these four categories are covered, most standard coursework and early research work can run without additional equipment.


Leave a comment
This site is protected by hCaptcha and the hCaptcha Privacy Policy and Terms of Service apply.